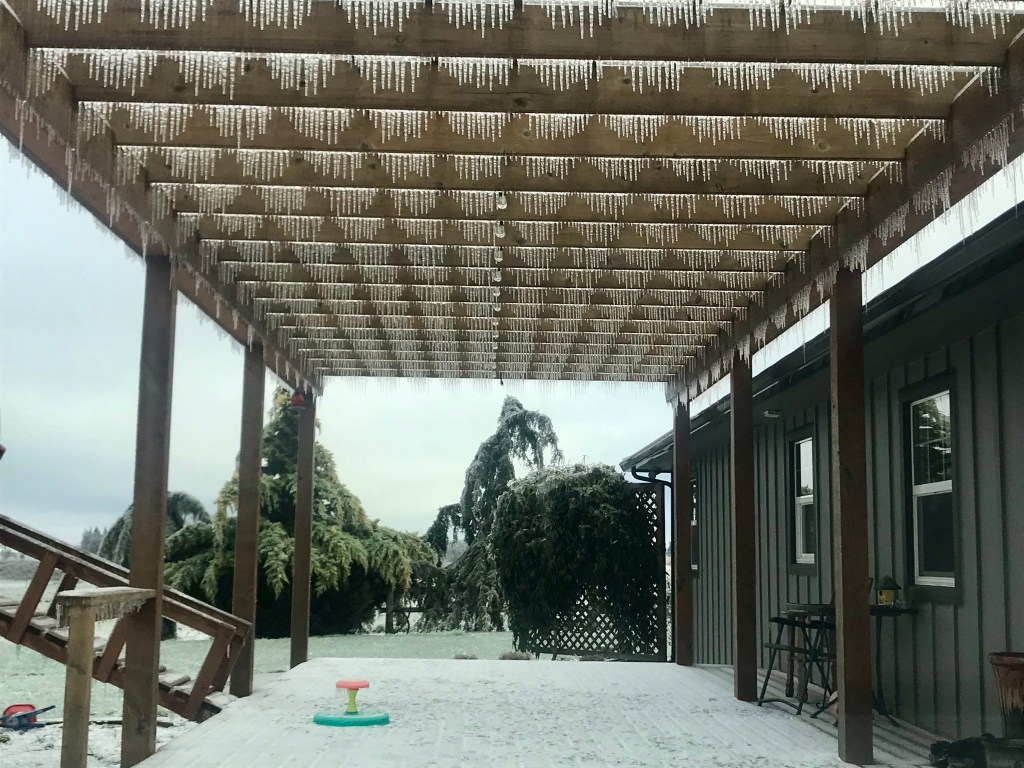
A few days ago an ice storm hit Oregon with a blast of cold and precipitation that resulted in a pretty major ice event. Hundreds of thousands of people are still without power (including my family and the farm).
I’ve been getting a lot of questions. Are you warm? Do you have power? When will it come back on? Do you have water? How are the crops? And most importantly, “Do you have enough wine?” Since this is the top priority, the answer is yes, I absolutely have enough wine. (Phew)

Are you warm? Do you have power? When will it come back on?
Yes we are warm, no we don’t have power, and I have no idea! To be honest the first day was a little exhausting. We (aka my husband) were running around getting generators hooked up, checking on employees, getting gas, and preparing as much as possible. By day two he had the heater wired into the generator and currently we have heat, a few lights, and the TV (if you’re judging right now then you just won yourself a week with my kids and no TV to see how long you last haha!) The fridges and freezers are hooked up once the house gets warm and the cycle continues. So far so good.
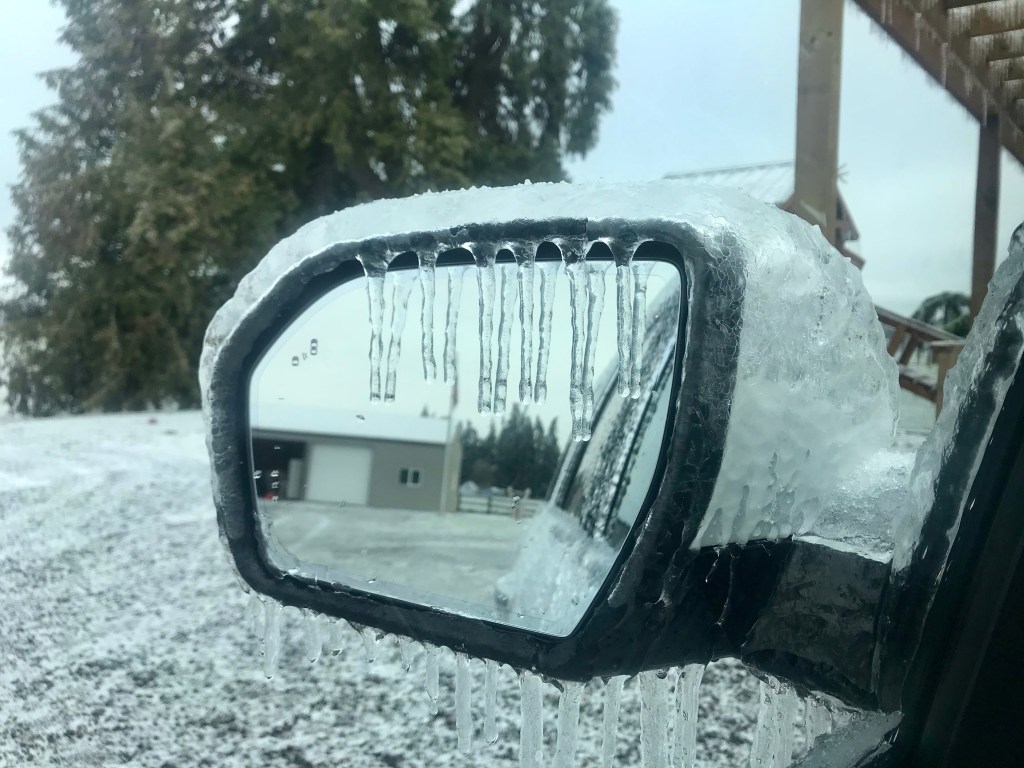

As far when it will come back on….it’s not looking too promising to be a quick fix. Lines are down literally everywhere around here. Roads are closed, trees and branches are all over the ground. So far this is what we know from the power company….
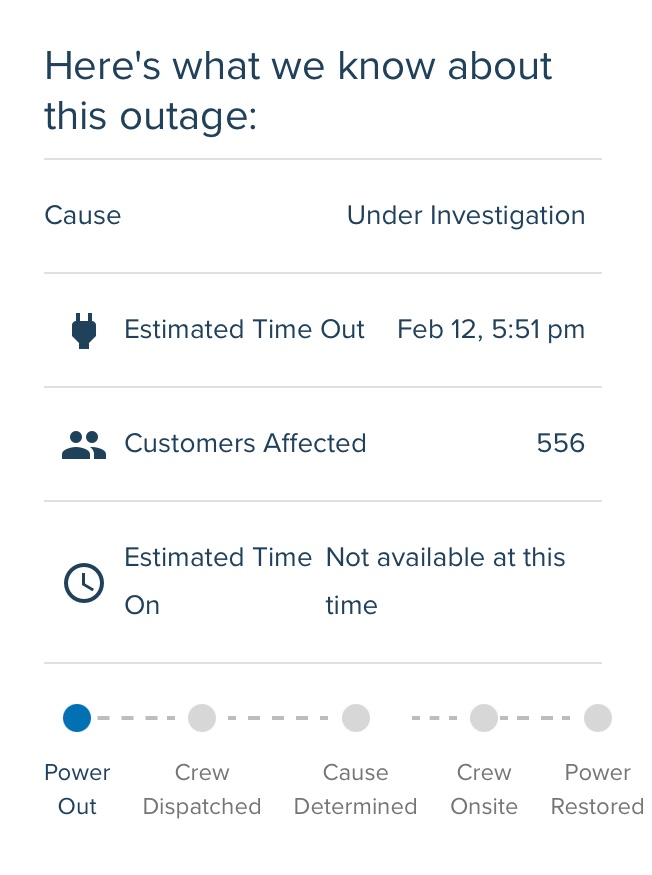
However I know that there are folks working around the clock to get people back up and running as soon as possible. We are being patient and thankful for what we have here.
Do you have water?
Not in the traditional sense. Our well can’t run with the generator that we have. So we had put some in the tub and in jugs before the power went out.

Then Hoot spent the first day collecting ice to replenish the tub water so we can flush the toilet. Yesterday we headed out to my brother and sister in laws to get some good drinking and cooking water. Thankful for family!!!
How are the crops?
Ugh this is a tough one. Probably the question that I’ve been avoiding the most. Most of our crops should be fine. The hazelnuts however I honestly don’t know.

The ice on the branches made them turn almost into mushroom looking shrubs, which is not ideal. I don’t know how many branches we have down but I assume it’s going to be a lot. Some trees have broken and split down the middle, those will be a full loss. Others will probably take years to recover.

At this point it’s hard to know the full extent of what has occurred in our orchards. But I’ll keep you updated as we move through this event and this year.
Mother Nature can be relentless. As farmers we have known that forever. I often talk about how the weather is a challenge that is unmatched and at times like this I’m reminded just how hard this profession can be. It’s also when I’m reminded of why we do what we do and continue to take on each challenge that is sent our way. It’s a testament to how much we love the life we have built as farmers. We will clean up, assess the damage, get a plan and move ahead. We will do this just as we have always done and will continue to do.
Thanks to everyone for checking in and all those who have helped so much already! And again to all the power company folks who I know are working 24/7 for everyone right now. Hope everyone is staying warm and safe out there!!
If you’re in the middle of all of this too, how are you doing??